Unapologetically Single
A 365-day project and exhibition embracing a year of singleness through daily art and self-reflection

Artist Statement
Unapologetically Single started as a method for my own personal healing, but quickly became my daily diary and growth tracker. Through my daily drawings and reflections, my goal was to focus on the areas in my life that needed improvement, while also holding more grace for myself with where I was at. My style and mindset changed midway when I shifted from being too careful and perfect with my art to being more real, vulnerable, and imperfect.
The motion of doing a daily ritual also kept me focused and accountable as my main intention for this project was to document my journey of staying single for one year. I felt that singleness at a certain age felt daunting and stigmatized, and I wanted to be unapologetic about it. While I had a clear intention coming in, I learned to embrace the fact that true healing is a continual process and not a final destination. It’s something we need to constantly put effort into because, while much can change in a year, one year is simply a chapter in our story. Learning to love my single self was a step forward to finding healthier and better-aligned relationships up ahead.
Role
Creative Director
Focus Areas
Illustration
Exhibit Design
Project Duration
2017-2018
Exhibit Location
New Women Space, Brooklyn, NY
Run Time
May 15, 2018
365 Drawings
The project started with one drawing a day for 365 days. A reflection on self, singleness, and growth.
-
![An illustration of a red heart with tan bandaids on it. The heart is amidst an orange sky with clouds.]()
Day 365
-
![An image of Leah on top of a mountain overlooking Seoul. Her arms are outstretched and her back is turned towards the viewer.]()
A Farewell Message
-
![An illustration of a handwritten note on loose leaf paper. A portion of the letter is torn up, but you can still read the intended message.]()
Day 302
-
![An illustration of a person with red painted fingernails is adding a seed into the dirt. An arrow next to the seed and the words “growth” with a heart are pointing to it.]()
Day 364
-
![An illustration of the back of a U.S. dime with the words “Unapologetically Single” written above the torch. Underneath the dime are the lyrics, “I’m a dime (but I’m not yours).”]()
Day 303
-
![An illustration of a person’s internal body. The body is looking into a reflective surface and a thought bubble reads “Who are you underneath it all?”]()
Day 345
-
![An illustration of a person jumping into the water from a bird’s eye view.]()
Day 297
-
![An illustration of a picture of a cupcake. It is decorated with frosting, fruit, a candle, and a small sign that says “300.” Words are written on the photo that say, “Dear Self: Congrats on your growth! Love, Me.”]()
Day 300
-
![An illustration of a large tree is talking to a small sapling. The tree says, “It gets better.”]()
Day 226
-
![An illustration of a woman wrapped in a painting. A heart is being painted on her clothes by a huge brush with the artist not shown.]()
Beauty in Empty Spaces

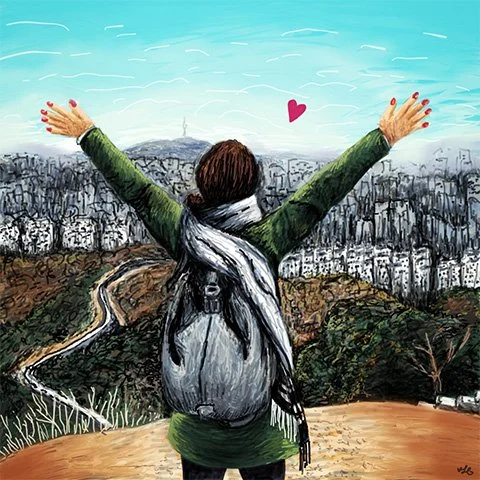
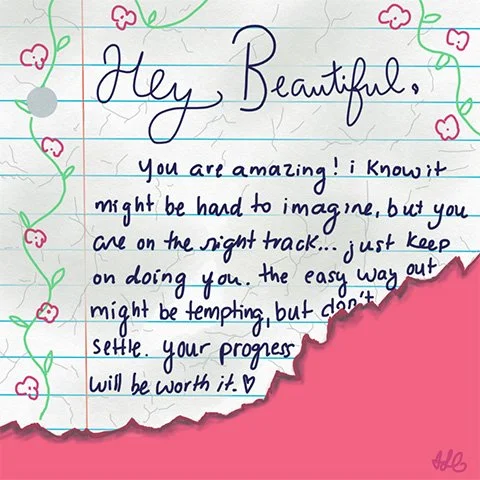


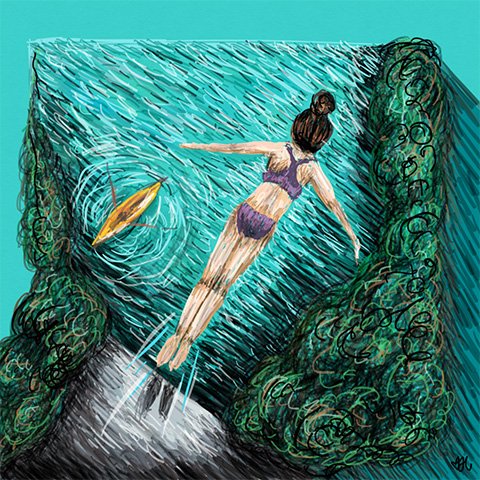
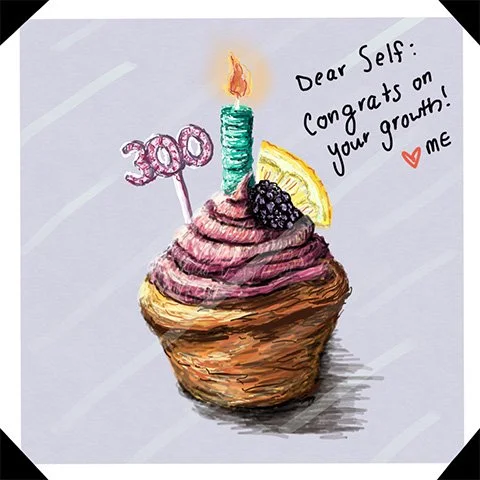
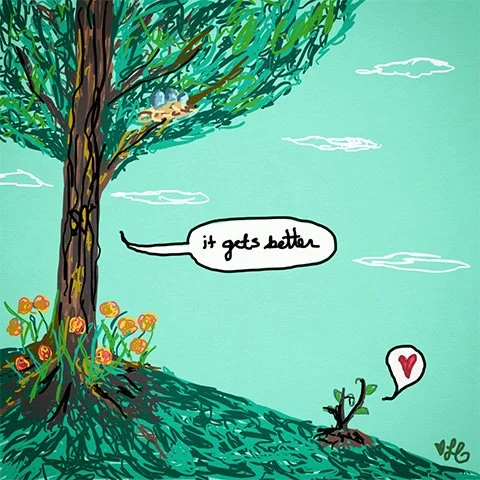

Exhibit Design
With the 365 day project complete, I wanted a final hoorah for all my work. Contacting New Women Space in Brooklyn, NY, I set up an exhibition date and got to work preparing for my opening.
Production Schedule
For long term projects, I often start with a spreadsheet. This method helps me visualize my monthly goals, compartmentalize tasks, and remember target due dates.

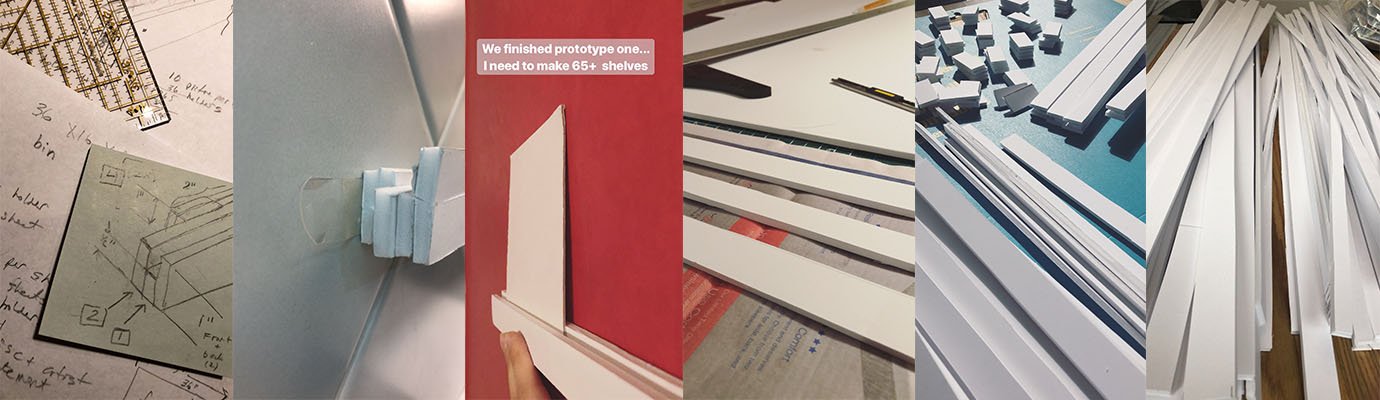
Exhibit Layout and Shelf Designs
After getting the dimensions of the New Women Space, I calculated how much wall space I would need for each piece. The goal was to print each artwork individually so that it could be turned over and read. I chose to display each work on removable shelves, which could be quickly installed on the day of the exhibit since our show was for only one day.
With the help of my father, we constructed many prototypes before landing on a solution. Our final design had a small groove where the artwork could rest in. We also included some added padding so the artworks could rest at an angle against the wall without toppling over.

Card Making
During my 365 day project, I wrote a reflection with every drawing that I posted on my social media. With the help of my mom and my friends, each reflection was edited and printed out on cardstock. For the sake of budget, the artworks were printed through a printing service, and then adhered to the descriptions. It was a painstaking process that involved a lot of additional help from friends, but by the end, we had 365 day cards with artwork on one side and descriptions on the other.


Advertising
Square flyers were printed and distributed to advertise the art exhibit.

Installation Day
Some BTS process shots of the installation of my exhibit. We had less than 1.5 hours to install everything, so it was a tight race to the finish line.
Step 1: Measure
Using the exhibit layout as a guide, we used measuring tape and levelers to map out the shelving guides with a string.


Step 2: Stick
After we laid out our guides, the shelves were temporarily stuck to the wall with command strips we had previously attached. We followed the pattern I had laid out and everyone was given an area in the space to install.


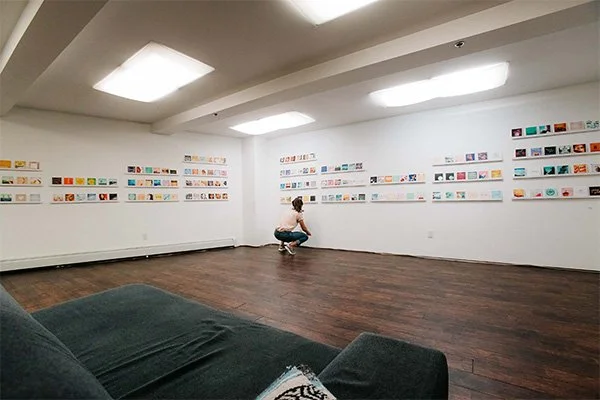
Step 3: Place
The final step was to place the cards in the shelves in the correct order. Once everything was assembled and clean, the final exhibit was divided between two floors. In the exhibit space, guests could bounce around to different artworks or read them in chronological order.


“Take your broken heart, make it into art.”
— Carrie Fisher
Show Time
After all the months and hours of hard work, we finally went live for a day at New Women Space. It was a fun time, and we had a great turn out.
Video by Alan Tan


Special Thanks
My friends and family who supported me my project for 365 days, and then helped me plan, edit, build, and fund my exhibit. Richard Ly and Jeff Lee for shooting photos. Alan Tan for shooting photos and video. James Gebilaguin and Nathan Le for helping me edit the photos.

Post-exhibit takedown. A final blurry memory for the road.